
This page contains affiliate links. If you make a purchase through one, we may earn a commission at no extra cost to you.
Upgrading a hard drive to an SSD usually gets imagined as an afternoon lost to reinstalling Windows and every application from scratch. It doesn’t have to be — cloning moves everything over exactly as it was, and the computer boots from the new drive like nothing changed except the speed. AOMEI Backupper’s cloning tools.
Cloning vs. a Fresh Install
A fresh install means reinstalling the operating system, every application, and manually restoring files and settings — hours of work even for a modest setup, and a real chance of forgetting a license key or a piece of software you don’t think about until you need it. Cloning copies the entire drive — operating system, applications, files, settings — sector by sector onto the new drive, which then boots exactly as the old one did, just faster.
Why This Specifically Requires the Right Tool
Simply copying and pasting files from the old drive to the new one doesn’t produce a bootable drive — the operating system’s boot configuration, partition structure, and system files need to be cloned in a way that preserves the exact structure Windows expects to find at startup. Software built specifically for disk cloning handles this correctly; a plain file copy does not, and is the most common reason a DIY attempt at this results in a new drive full of files that won’t actually boot.
See AOMEI Backupper’s disk clone feature before attempting a manual file copy that won’t produce a bootable result.
What to Check Before You Start
The new SSD needs enough capacity for your actual used space on the old drive, not just its total size — cloning a mostly-full 1TB drive onto a 512GB SSD won’t fit. If the new SSD is smaller than the old drive but larger than your used space, most cloning tools handle this with an option to clone only the used data, but it’s worth confirming before starting rather than discovering a capacity error partway through.
SATA vs. NVMe: Why It Matters for Your Specific Upgrade
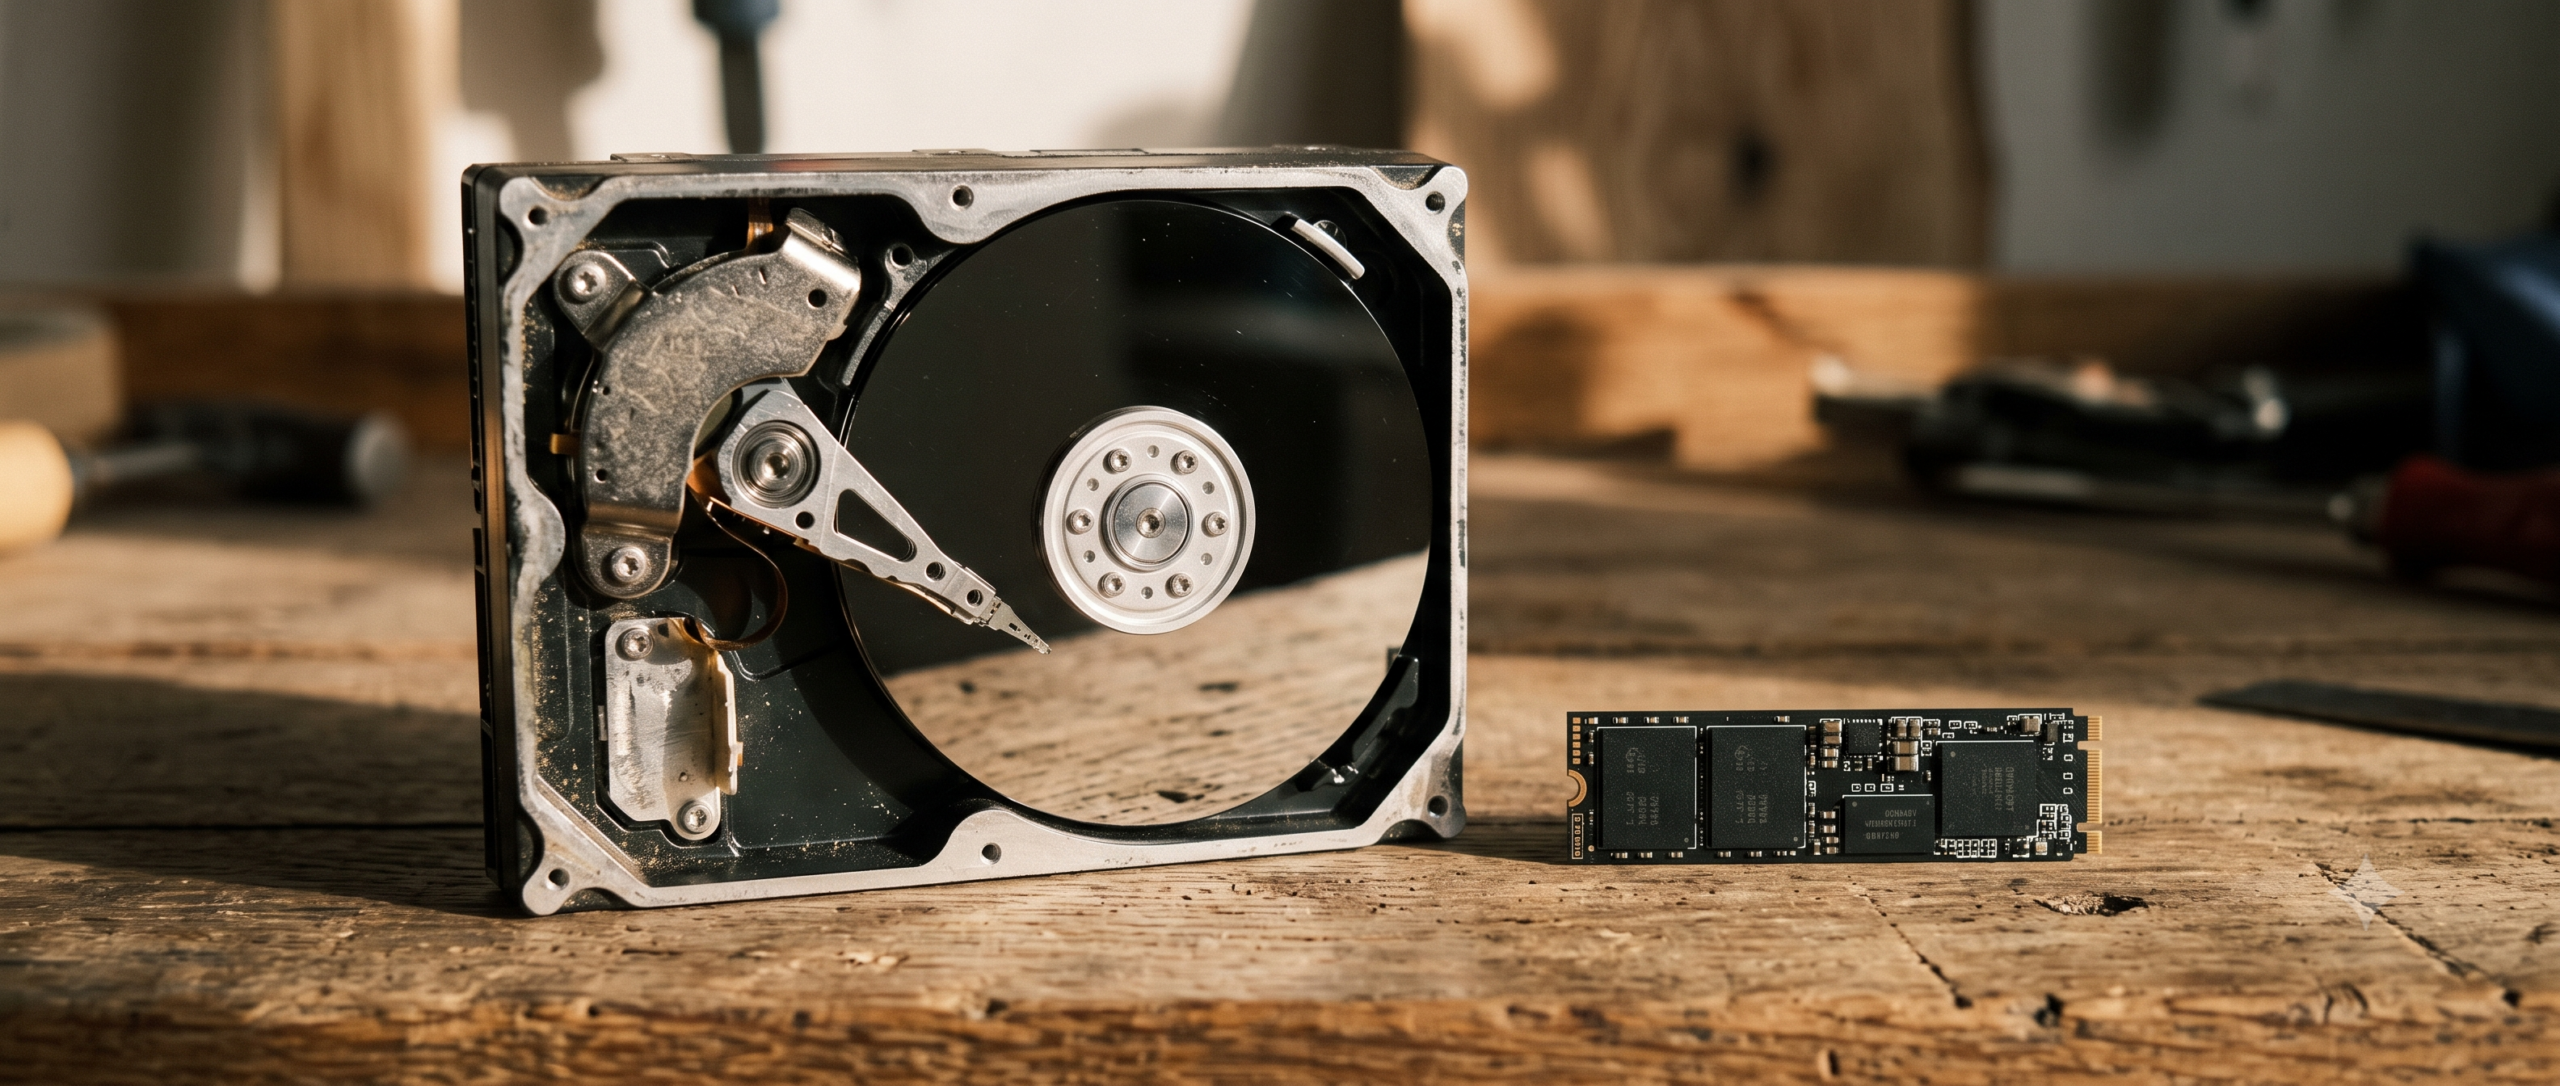
Not all SSDs are the same, and which type you need depends entirely on what your computer actually supports. SATA SSDs use the same connector and interface as a traditional hard drive, making them a straightforward drop-in replacement on almost any computer, with speeds well above a spinning hard drive but capped by the SATA interface itself. NVMe SSDs connect via M.2 slots directly to the motherboard and bypass that SATA bottleneck entirely, delivering dramatically faster speeds — but only on computers with an actual M.2 NVMe slot, which older machines and some budget laptops simply don’t have.
Check your specific computer’s specifications before buying rather than assuming — an NVMe drive is wasted money in a machine that only supports SATA (it either won’t fit the available slot or won’t run at NVMe speeds), and a SATA SSD in a machine that supports NVMe leaves real performance on the table. This is worth five minutes of research before purchasing, since the wrong choice either doesn’t work at all or works at a fraction of the performance you paid for.
The GPT/MBR Gotcha That Trips Up Older Systems
Drives use one of two partition table formats — the older MBR (Master Boot Record) or the newer GPT (GUID Partition Table) — and a clone normally preserves whichever format the source drive uses. This becomes a real issue specifically when cloning an older MBR-formatted drive onto a new SSD in a computer using UEFI boot mode (standard on most computers from the last several years), since UEFI systems generally expect GPT for the primary boot drive. Good cloning software can convert between the two during the clone process, but it’s a setting worth confirming explicitly beforehand rather than discovering after a clone that boots incorrectly.
If you’re not sure which format your current drive uses, most operating systems show this in their disk management utility without needing to guess — checking this before starting saves troubleshooting a boot failure that traces back to a partition-format mismatch rather than anything wrong with the clone itself.
The Actual Process
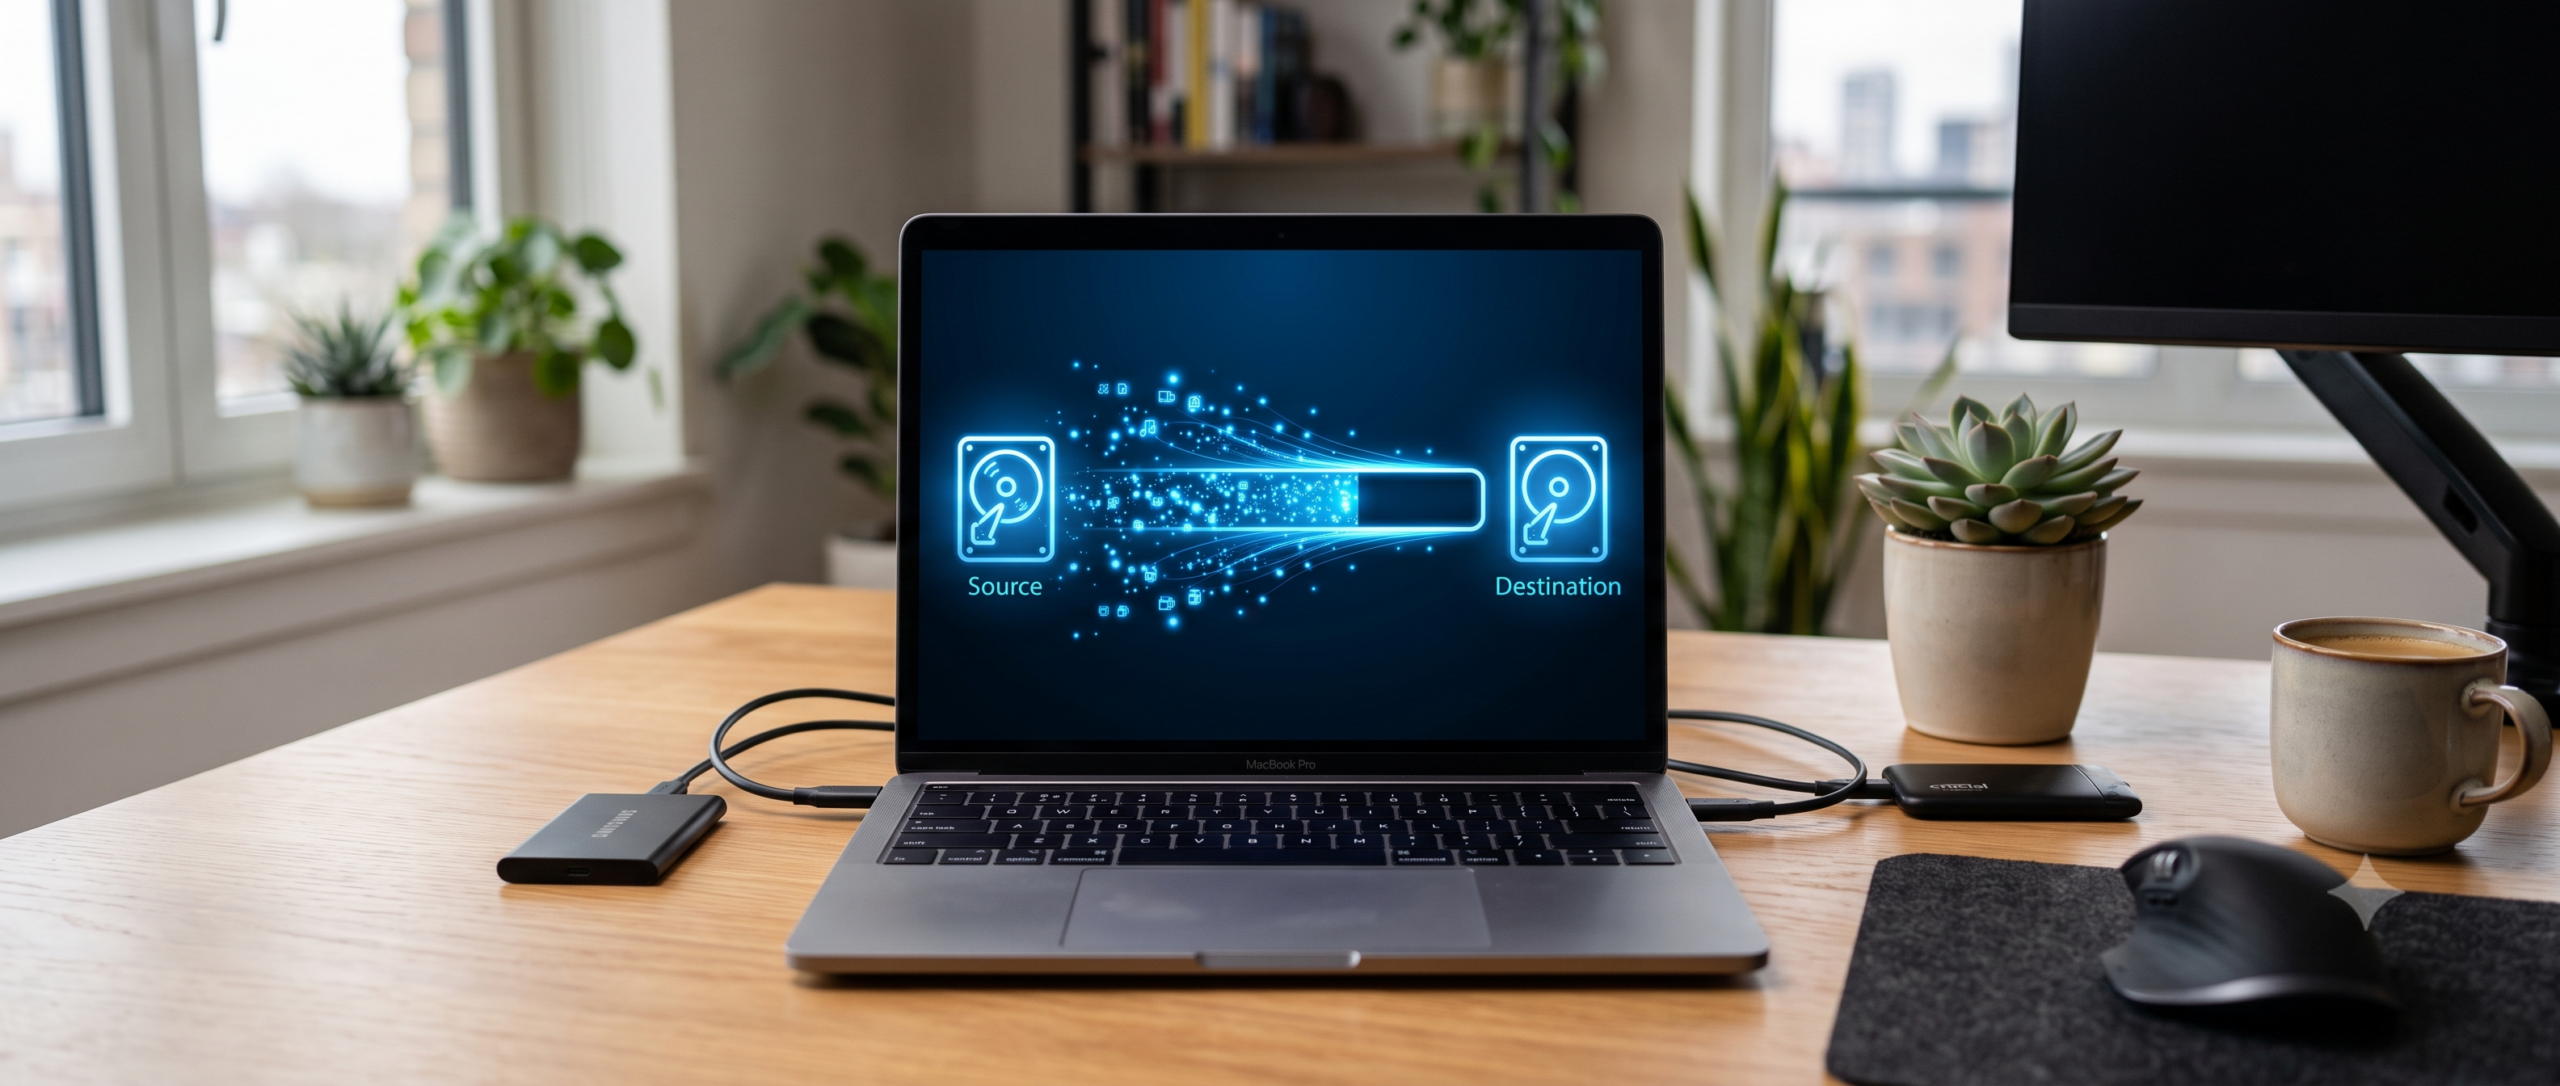
Connect the new SSD to the computer (via a USB-to-SATA adapter or enclosure if it’s not already installed internally), select the old drive as the source and the new SSD as the destination in the cloning software, and start the clone. Depending on how much data is being moved, this can take anywhere from twenty minutes to a couple of hours — the computer remains usable for other things in the meantime, since the cloning happens as a background operation reading from one drive and writing to the other.
After the Clone: Swapping the Drive
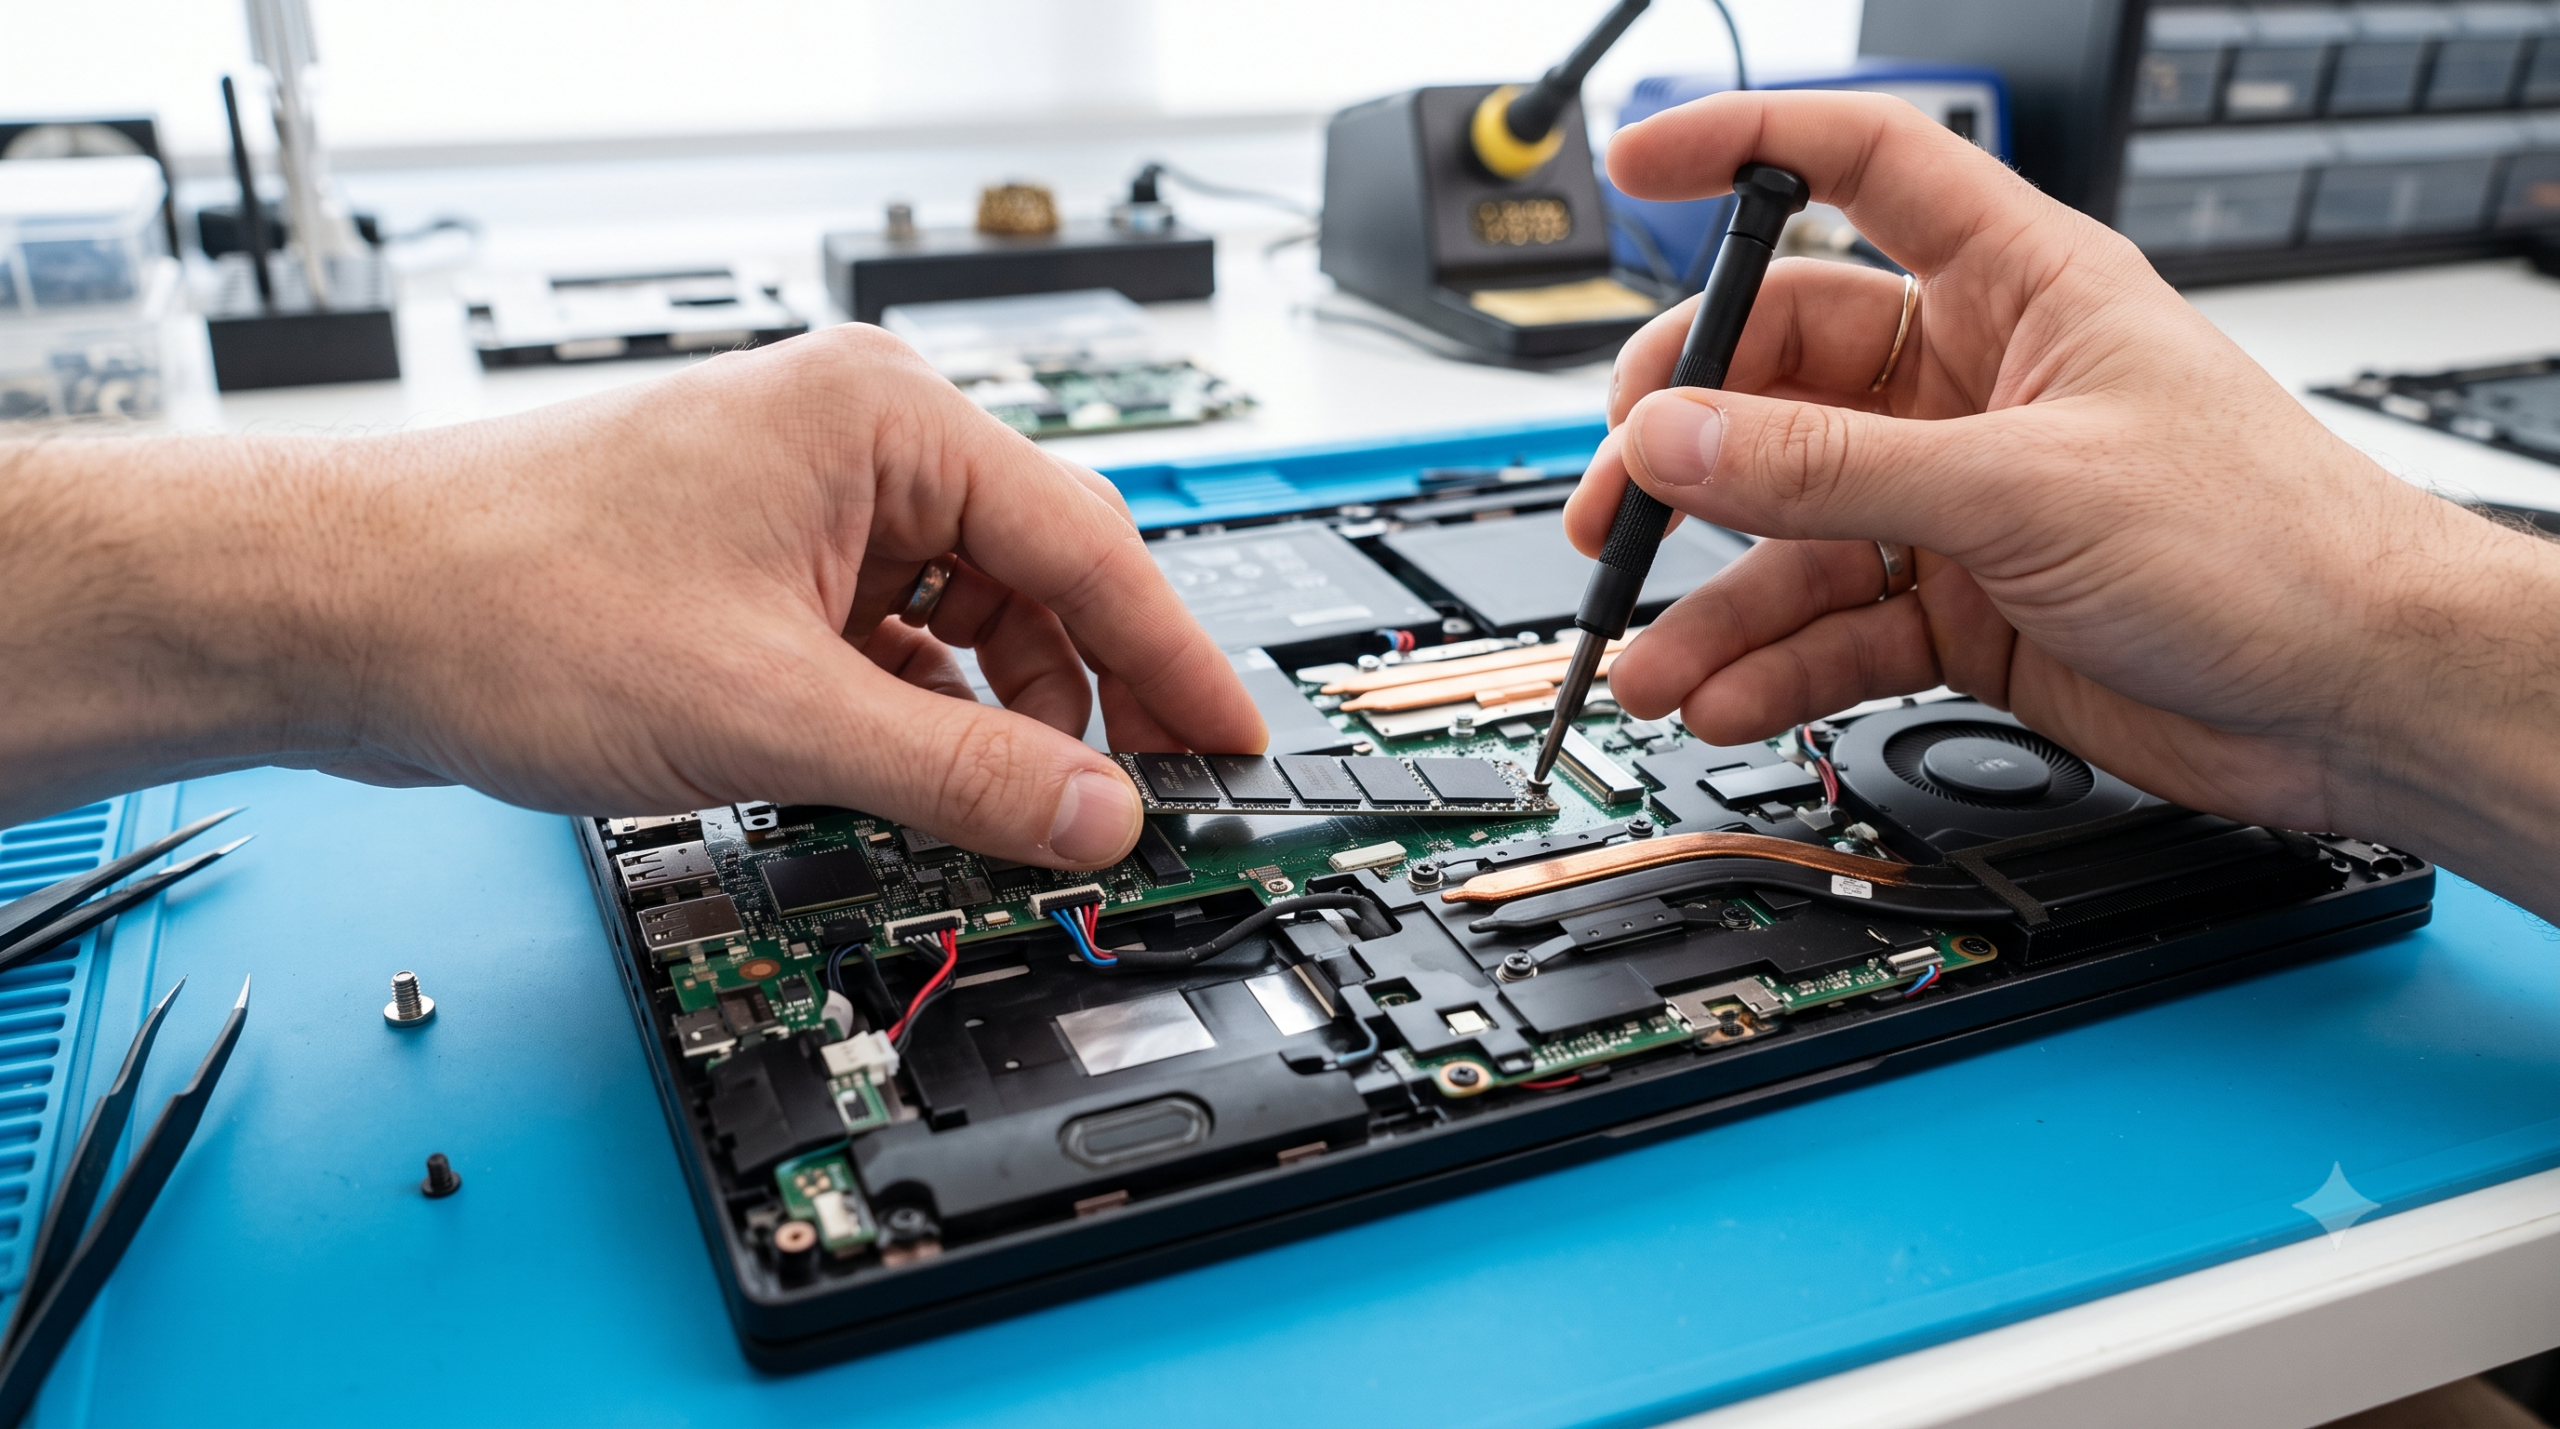
Power down completely, physically swap the old drive for the new SSD in the same slot, and boot up. The computer should start exactly as before, now running from the SSD. If it doesn’t boot on the first try, checking the BIOS boot order to confirm the new SSD is set as the primary boot device resolves the great majority of cases — the clone itself is usually fine, it’s just booting from the wrong drive by default.
What to Do With the Old Drive
Don’t wipe or reformat it immediately — keep it disconnected but intact for a week or two while confirming everything on the new SSD works correctly. If something was missed or doesn’t boot as expected, the old drive is still a complete, working fallback. Once you’re confident the new SSD is fully functional, the old drive can be repurposed as external storage or securely wiped.
Bottom Line
An SSD upgrade is one of the more noticeable speed improvements available for an older computer, and cloning is what makes it a same-afternoon task instead of a lost weekend rebuilding everything from scratch.
Clone your drive with AOMEI Backupper
Frequently Asked Questions
Will I lose any files or settings by cloning instead of a fresh install?
No — that’s the actual point of cloning versus a fresh install. Every file, application, and setting on the old drive carries over exactly as it was, since the clone reproduces the entire drive structure rather than starting from a blank operating system.
Can I clone a laptop’s internal drive without a second internal slot?
Yes — connect the new SSD externally via a USB-to-SATA or USB-to-NVMe adapter for the cloning process itself, then physically swap it into the laptop’s internal slot afterward once cloning is complete.
What if the new drive won’t boot after cloning?
Almost always a BIOS boot-order setting still pointing at the old drive rather than an actual problem with the clone. Checking that the new SSD is set as the primary boot device resolves this in the large majority of cases.
Do I need a SATA or NVMe SSD for my computer?
Depends on what your specific computer supports — check its specifications before buying. NVMe is faster but requires an M.2 NVMe slot that older or budget machines may not have; SATA works as a drop-in replacement on almost anything but caps out at lower speeds than NVMe.
Does the new SSD need to be the exact same size as the old drive?
No — it needs to be at least as large as your actual used space on the old drive, not the drive’s total capacity. A smaller SSD than the old drive’s total size works fine as long as it exceeds what you’re actually using; most cloning software handles this automatically by cloning only the used data.